
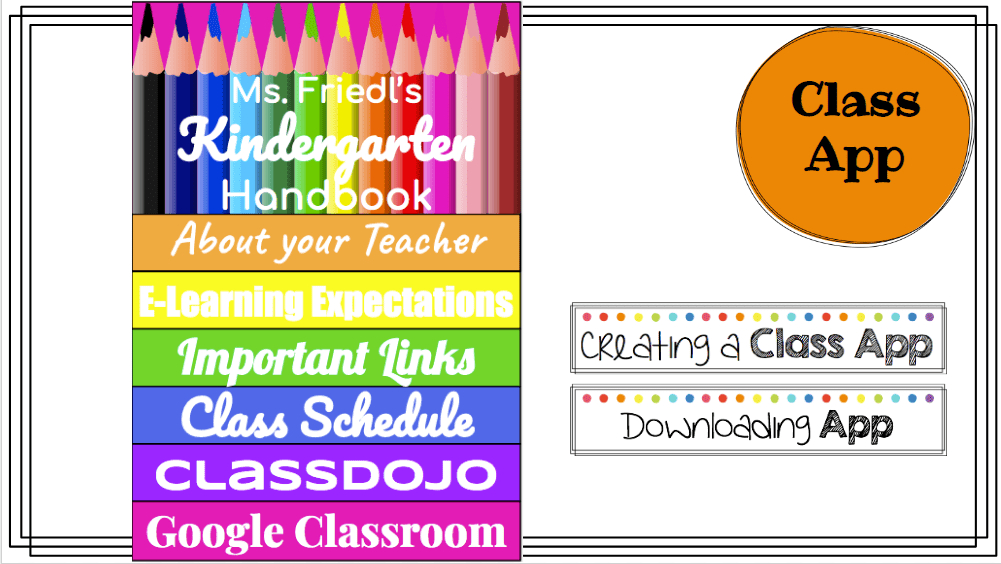
Every school year I usually create a Flip Book that has information that parents will NEED. It is easily organized, parents can just flip to the page that they are looking for.

This year is OBVIOUSLY different. So being all virtual for the first couple months made me realize that my flip book just wasn’t going to cut it this year. So I decided to make a Class App that parents can keep on their phone’s home screen that will have all the info they will need right there!
Now this does NOT involve any coding, and it really isn’t too complicated to do. So just follow along as I take you step by step on how I created it!
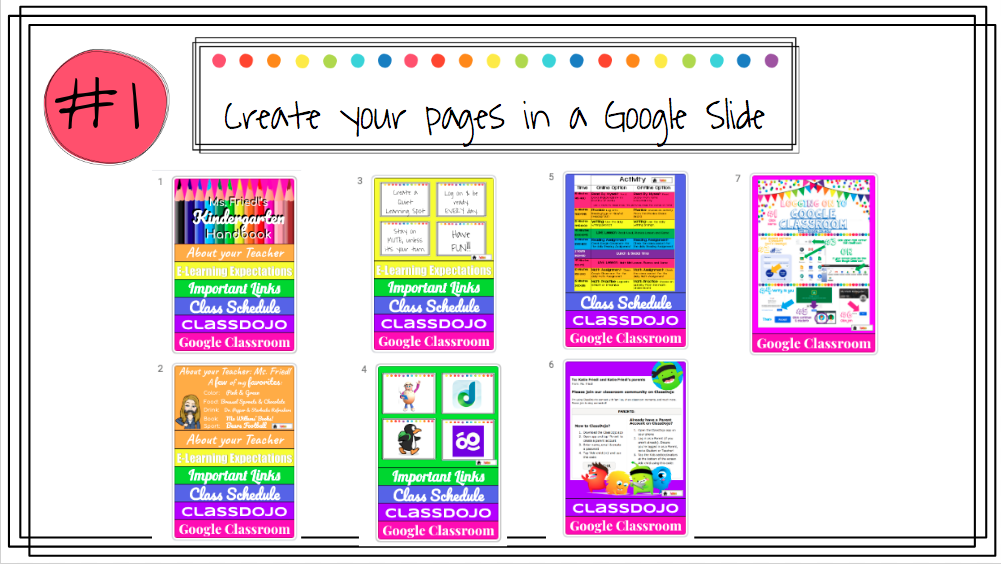
SO the first thing you’re going to do is open a new Google Slide – change the Page Setup because we want it to be the shape of a phone – not long. So go to File, Page Setup, change to Custom, I changed it to: 8″ x 11.5″. Then you can create your App to make it look however you’d like! Set a background if you’d like. Add some buttons to help move from slide to slide Or create a flip book type like I have below:
You can decide what kind of information you’d parents to have access to & the best part about it, is once parents have the App saved on their Home Screen, you can change the App as much as you’d like – adjusting information, links, etc & it will AUTOMATICALLY update on their App!! SUPER COOL!! But we will get to that all later… stay tuned!
So I create my Front Cover first. Then copied & pasted the slide 6 more times. And I adjusted each slide to add the information I needed. See below:
Make sure to link any of your websites, etc that you would like parents to be able to just touch and be sent to the correct webpage. If you need help with this – you can check out my: Making a Bitmoji Virtual Classroom, I go through step by step on how to link to websites, embed videos and add your Bitmoji to personalize it more!
You can see the slide number next to each slide image above. After you create each one of your slides (so that when parents click on something it will bring them to that page with the information they seek). Then you are going to make a box (or whatever shape) you want as the “Clickable Space”. Click on the shape button (pink), Shapes (orange) and select your clickable shape (yellow). Then you will create the shape over where you’d like to have parents click (see the grayish box over the handbook?!)

Now we want the parents/students to still be able to see what is behind that shape. SO we are going to change the shape to TRANSPARENT by clicking on the shape, then the outline button (green) Click Transparent (blue), then click on the Fill button (purple) and click Transparent (light purple). After you do that the shape will turn transparent!

After you make one shape and make it transparent you can either copy, paste & move it over the next area you want to be clickable. OR if it is a different shape you can create another shape in the same way as we just did. Make sure you make a transparent clickable space over each space you want parents to touch/manipulate!
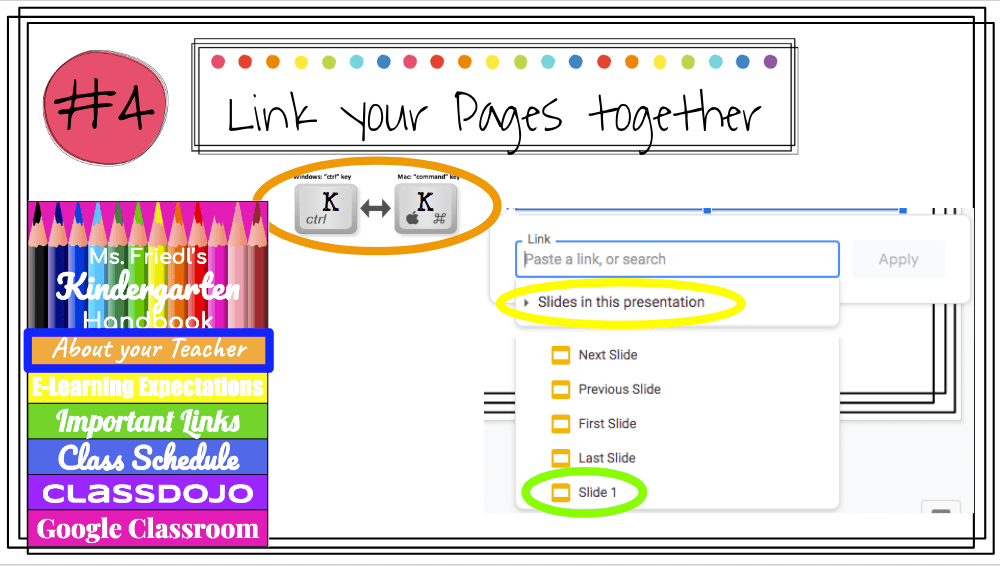
Then you will need to LINK your pages together. So you are going to click on that first transparent “clickable space” (blue) we made earlier, then press ctrl K (if you have a PC) or command K (if you have a Mac) (orange). The link box will appear, and this time you are going to touch Slides in this presentation (yellow) and scroll down until you find the slide you want the parents/students to be directed to. Then make sure you hit APPLY, otherwise it wont save the link!
After you link ALL of your pages to each other (you can also add a HOME button on each page so that parents can always go Home and click on a new navigation button), you will need to HIDE ALL your slides EXCEPT your HOME page! First right click on the slide (on the far left of your screen) then select Skip Slide (orange), and eye that is crossed out will pop up in the middle of the slide. That is how you will know that it is hidden. If you don’t do this, when a parent/student touches anywhere on the App Screen it will automatically go to the next slide, not necessarily where they wanted to navigate to! Once all of your slides are hidden EXCEPT your Home Page you are finally ready to share!

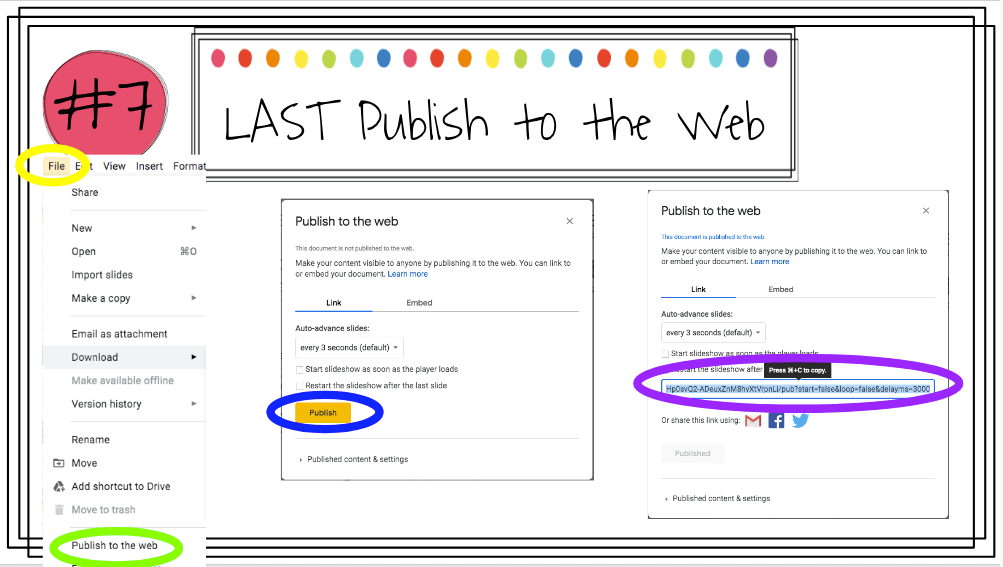
Before you can share the link and have parents/students see it as a website, you will need to Publish to the web. Click on File (yellow), Publish to the web (green), Click Publish (blue), it will ask if you’re sure… Then Copy Link (purple) and you are READY to share!
In order to get parents to download the App they will first need the link to the page. Most links to Google Slides are looooonnnnnggggg. If that is ok with you, you can skip this step. But to make the link shorter, I used TinyURL to change my link from: https://docs.google.com/presentation/d/e/2PACX-1vT91QPfkl-5oEyOHrzFFgSeSERG_oMAtAAiV1z43jHM_qYVAxa3yI1kZtiuLC-EyJ59Jt1obuB7v_9K/pub?start=false&loop=false&delayms=3000
To: https://tinyurl.com/y34cwguf
Both links will bring you to my Demo Class App. In order to get the smaller link you’ll need to go to TinyURL and put in your long link, it will take a second and then will provide a shortened (Tiny) web address.
There are many ways to share it, you can use ClassDojo, Email, Post it on your Google Classroom Page, text it to parents, etc! Whatever you can to get that link to parents (or students can add it to their home screen on their iPads/tablets as well!)
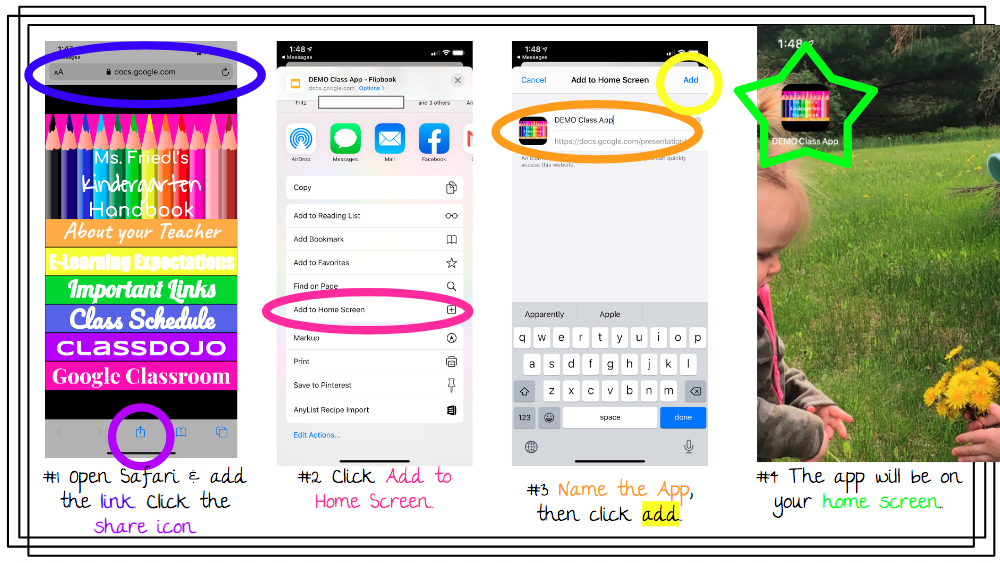
In order to download it to an iPhone, they will need to open the link in SAFARI, once they are on the page (blue), click the share icon (purple) at the bottom of your screen. Then scroll down the page and click Add to Home Screen (pink). It will then give you an option to change the name (orange), I suggest to keep it short & sweet when you Name the Google Slide, because that is what will auto-populate as the Name of the App. Then click Add (yellow). Then like MAGIC, the app will appear on your home screen (green)!!!
If you have an Android your instructions are just a little bit different.
Open any browser, add the link (blue) then click the 3 dots (purple). Click Add to Home Screen (pink). Name the App (orange) then click Add (yellow). And MAGIC… you have an App on their home screen (green)!!

Because we Published in to the web, that means EVERY time you change, adjust, delete, remake, redesign, etc your App, it will AUTOMATICALLY change on the parents/students end without having to do anything Extra. It’s THAT great!!!
Enjoy playing around with creating your App and sharing it with parents and students!! If you have any questions or tips, please leave a comment below!! Thank you!

2 thoughts on “Creating a Class App”