
A fun and exciting way to learn about Colors is through decorating your own hat! It’s something you can wear with pride after learning all about that specific color.
I love using hats as a Home Connection piece! Think about it… can a parent really miss the colorfully decorated hat on top of their child’s head as soon as they walk out of the school building? Also… you’ll know exactly who your students are, ya know, they’re the ones wearing the colorful hats!
Also, sooooo many other students will come up and ask why they are wearing hats. It’s a GREAT way for students to talk about what they learned! It builds classroom (and school) community. If you ended up doing this year after year, it builds connections from your previous students to your new ones. It keeps your connection with your old students strong. They love reminiscing over when they made their hats. It makes it fun for the other students to find out what color, number, letter, etc your students learned that day. All around, its just SO. MUCH. FUN!
As stated above, I use hats for multiple learning connections. I start the year off with Color hats! If you are teacher: teaching about colors first thing will allow you to teach something that kids can easily grasp, that way you can still teach procedures, listening to directions, multi-step directions, etc alllllllll while doing a fun, engaging project/topic!
If you are a parent teaching your child at home. This is a GREAT way to start off your home-school because again, it is an easy concept for your little one to grasp, while setting expectations on how your school day (schedule) will go, along with listening to directions, multi-step directions, etc alllllllll while doing a fun, engaging project/topic!
My BIGGEST piece of advice for anyone (especially parents…. heck, especially teachers) is make learning FUN. And I’m not talking about spending a billion hours on creating incredible games, activities, tracking down the most exciting materials; I’m talking about: find a way to have fun with the work that you are doing with kids! Tell a (probably stupid… but the kids will laugh anyways) joke, make a silly face, “forget” how to do something so a student has to remind you what to do (my kids LOVE when I “forget” things, that means they get to be the teacher!). Quick story: We did a meet the 1st grade teachers WebEx at the end of this past school year (yay Covid), anyways… the Kindergarteners prepared questions on what they wanted to know most about what 1st grade was going to be like. My kids came up with some really awesome questions: Do we write in 1st grade? Will we get to be the teacher in 1st grade? Will we learn how to be a YouTuber (this one cracked me up!) But my favorite question was: Will we have fun in 1st grade? And it hurt my heart when the 1st grade teacher answer: We do a lot of work in 1st grade, but we have fun on Fun Fridays, if you earn them. I wanted to ScReAm: WE HAVE FUN EVERY DAY!!! Work IS fun!!! It’s alllllll about how you approach things with kids… they WANT to have fun, even doing the same task over and over again… but this time see if we can do it a little faster… now you’re going to teach me how to do it… now we are going to do it like a robot… etc. Make learning FUN – it will make it feel like less frustrating, daunting, scary… etc.
OK… back to the fun… (aka: work!)
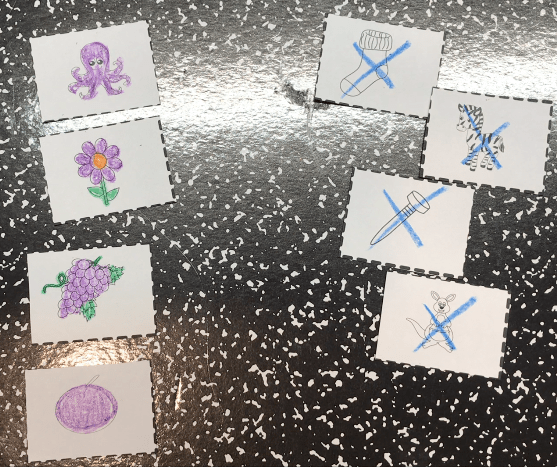
I LOVE doing the color hats in 2 different ways. 1: I give students a page of 8 pictures and 4 of those pictures are actually supposed to be the focus color for the day OR 2: allow my students to draw 4 things they can think of that are the focus color for the day.
I will say that because this is the first time that we are doing something like this it takes a looooong time because it does have multi-step directions, and there is a LOT to do. So I break it down like this:
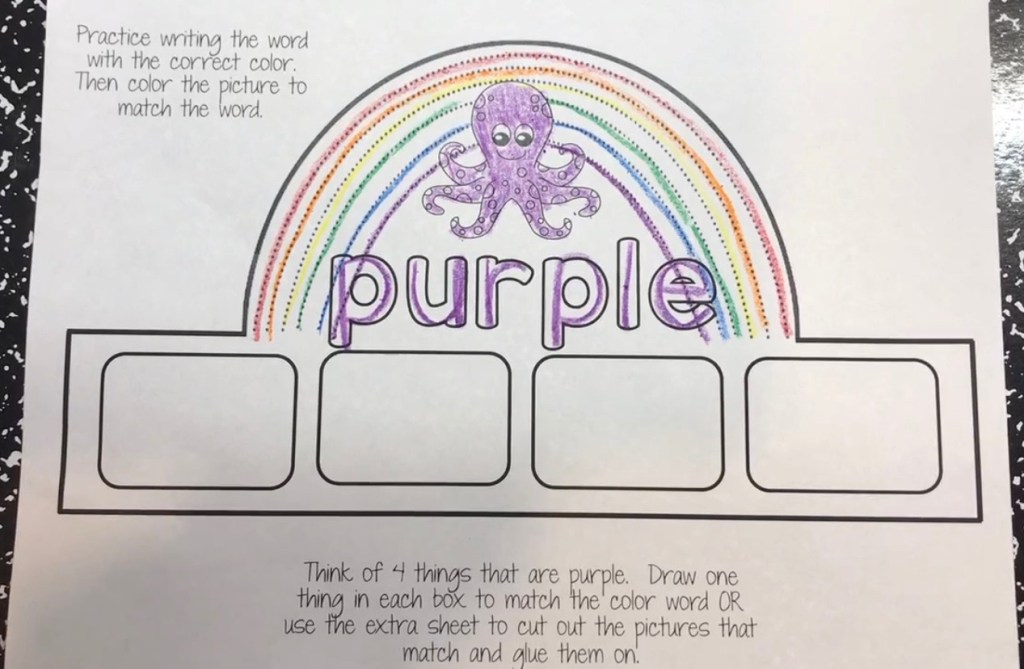
1st (Review): Color in the colors of the rainbow (up to the color you are currently doing) the picture below shows me completing all the colors of the rainbow because the hat is: Purple.
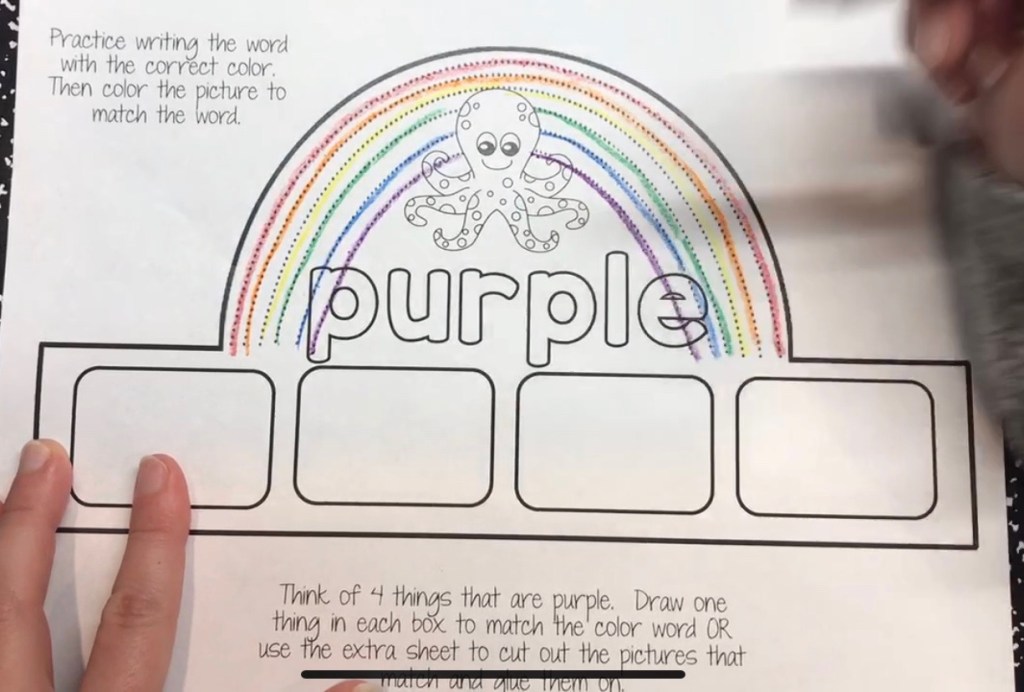
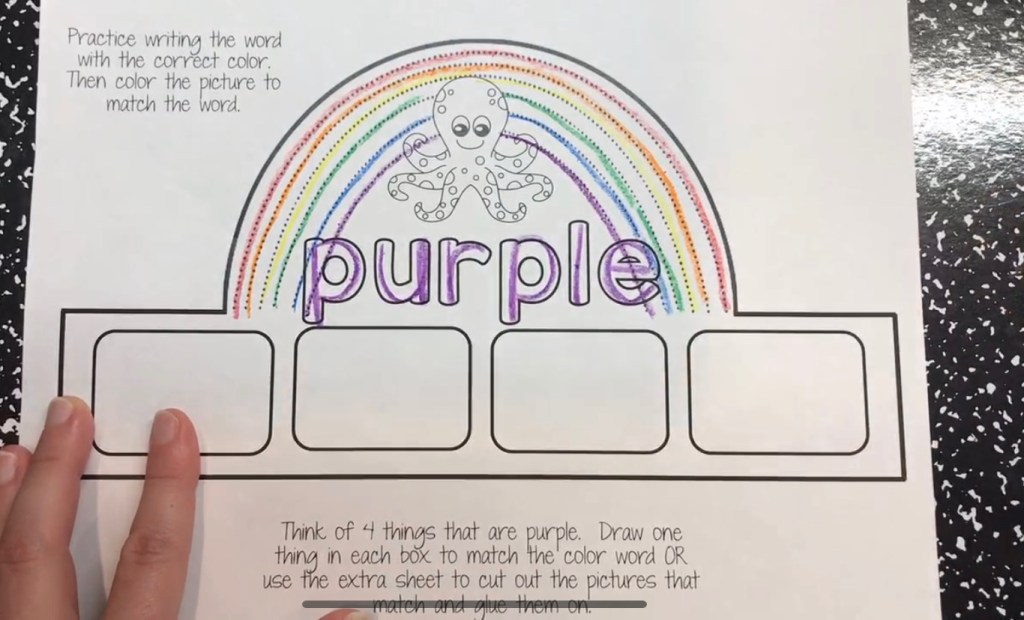
2nd: Practice tracing the word (using the correct color crayon)
3rd: Color in the image at the top of the hat (for this hat its an octopus)
4th: This is where the options come in – Color the pictures provided OR draw your own. I do suggest that if the picture isn’t supposed to be the focus color that the students practice drawing an X on it. This will help TONS when they cut out the pieces (and things inevitably get mixed up!)

5th: Cut out the pieces.

6th: Sort the pieces. Keeping the pieces that are color the focus color, and throwing out the pieces that have X’s on them.
7th: Glue the pieces onto the hat.

8th: Cut out the hat. (In this case I already did that, but for kids its easier to glue the pieces onto the hat and THEN cut out the hat (less pieces to loose this way…)
While students are cutting out their hats (or just working in general), is when I walk around the room, helping remind students of directions, helping guide them if needed, remind them of expectations (how to hold/use scissors, etc), I make sure to visit every child and while I visit every child I measure them and staple a simple “headband” out of a sentence strip. I cut my sentence strips in half the long way (down the dotted line), so that I can get 2 headbands out of each sentence strip.
9th: Students will glue (I LOVE GLUE SPONGES, unfortunately I did not use them for this project because I haven’t created them yet… that will be for another post, so stay tuned for a post to see how easy to make and use a glue sponge is!) the cut out hat onto the headband.

10th: Students clean up their mess, put their hats on their head, push in their chairs and meet me on the rug for a GoNoodle! This gives the students who might take a little longer, some extra time to finish up their work, while keeping the “fast finishers” engaged and moving! It also allows me to help give some needed one on one support or small group support to those students who need it!
Here’s an example of a hat with the 4 pictures drawn instead:

Sooooooooo… LOTS OF STEPS! But for the beginning of Kindergarten, you need to break it down for them, so that they can be successful each step of the way. You want them to be successful, you need them to be successful, they must buy in to this learning thing! So we don’t want to overwhelm them. So the first few days I model a step at a time, ask a student or two or three to retell what we are doing for that step, then I send them off to try it. Then when they are finished to meet me back on the rug (leaving everything at their space). We do this back and forth “dance” until the whole hat is complete.
After observing how the class is handling it, I take their lead… can I give them 2 steps at the same time?
Some Extra Advice:
I usually place those students who need a little extra support/encouragement/time at my small group table, so that they are easily gathered and I can meet with them all at once to support.
Sometimes I set a timer for each task – 3 minutes (or however much you want) to gather your scissors, cut out your pieces, then meet me at the rug. Setting a timer helps the students start to understand time.. how long things take, etc. This keeps those students who are often “off task”, a little more focused because they want to beat the timer.
If the timer goes off and I only have a few students on the rug (this can happen) I usually say “1-2-3 FREEZE”, we all freeze like statues, then I ask, “How many of you need 1 more (or 2 more depending on how the students are progressing) minute to finish your work?” Of course everyone who is still working says yes! The students sitting on the rug already completed with the task, I usually ask those students if they can search around the room on the floor for any of the pieces their friends have dropped and either put them in the garbage or set them back on the tables. This helps those students understand they can help their friends complete the tasks!
Once I start increasing the amount of the steps that we all do at one time, I try to keep the timer consistent because at this point, they have had practice doing these multiple days, so their speed at each task should have increased, things are becoming easier for them, and then we have time in the day to introduce another “fun” activity too!!
If you have the students draw their own 4 items. I always ask students for suggestions on what I can draw on my hat, that way if a student doesn’t have any ideas, they can at least look at my hat and use those ideas. Also, during a previous time in the day, I have read a book about lots of different things that are that focus color. I LOVE this set:
It has GREAT real world pictures inside, and helps the students name things that are the focus color. We also create an anchor chart together, where I select students to tell me something that is the focus color and I (to the best of my ability) draw it and label it on the chart. This helps students when we are writing in our journals about the color, or give us ideas on what to draw on our hat, etc.
Then, the students have a fun reminder about what they learned about that day and an awesome display of their work to show off their learning!
If you have any questions or have anything to add, leave a comment below!

One thought on “Learning About Colors: Hats”