
Soooo…. I would say the HARDEST thing to do is to get kids to write! They are interested in books with all the cool pictures, they will flip through them pretty easily, but as soon as you say we are going to write, many of the students instantly say, “I can’t do that!”
Well… I must say that I “trick them” into it – at first.
So here’s my trick: Directed Drawing!!
When I teach students about colors (which is what I focus on the first 2 weeks of school – check out that post here) I have students taste the color. So for Red (day 1) I ask students what is red that we could be tasting today. We play a guessing game with it, usually giving students time to independent think (put your finger on your brain and think… that way I know you’re thinking – works every time!), then they will turn and talk (learning to turn their bodies and talk with a designated person nearby and tell them their guess) then I will take 3 guesses. I ask the rest of the class to use their thumbs by their hearts to tell me if you agree (thumbs up) or disagree (thumbs down) – remind them to put their hands by their heart so you can easily see it (without them showing their answer to everyone in class… this will be key for later in the school year for comprehension practice).
After the 3 guesses, I reveal what we are tasting. But before they can taste it, they will learn how to draw it! I do a very explicit way of talking through what I’m drawing. I keep reminding them if they don’t already know how to draw it to make sure to pay attention so they can get some ideas for their own drawing.
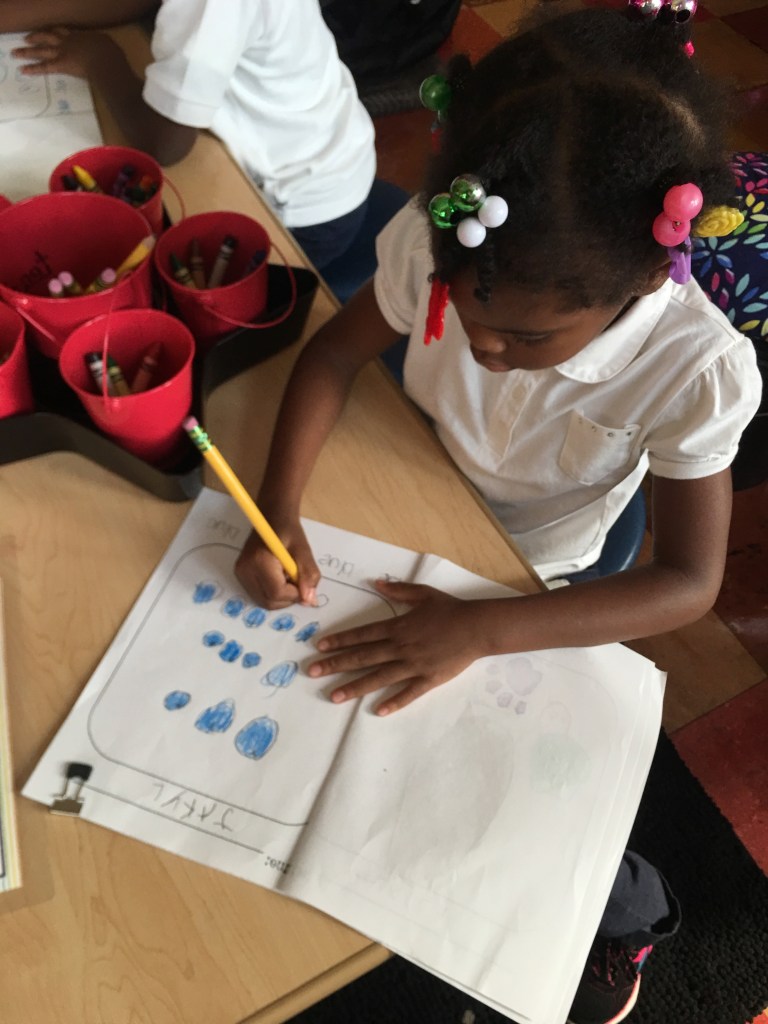
I provide each student with a My Color Writing Notebook which you can download for free here. Here’s Jakyla using her Color Writing Notebook:
Day 1 I usually start of pretty easy with a watermelon.
Explicit directions: I would say something like this:
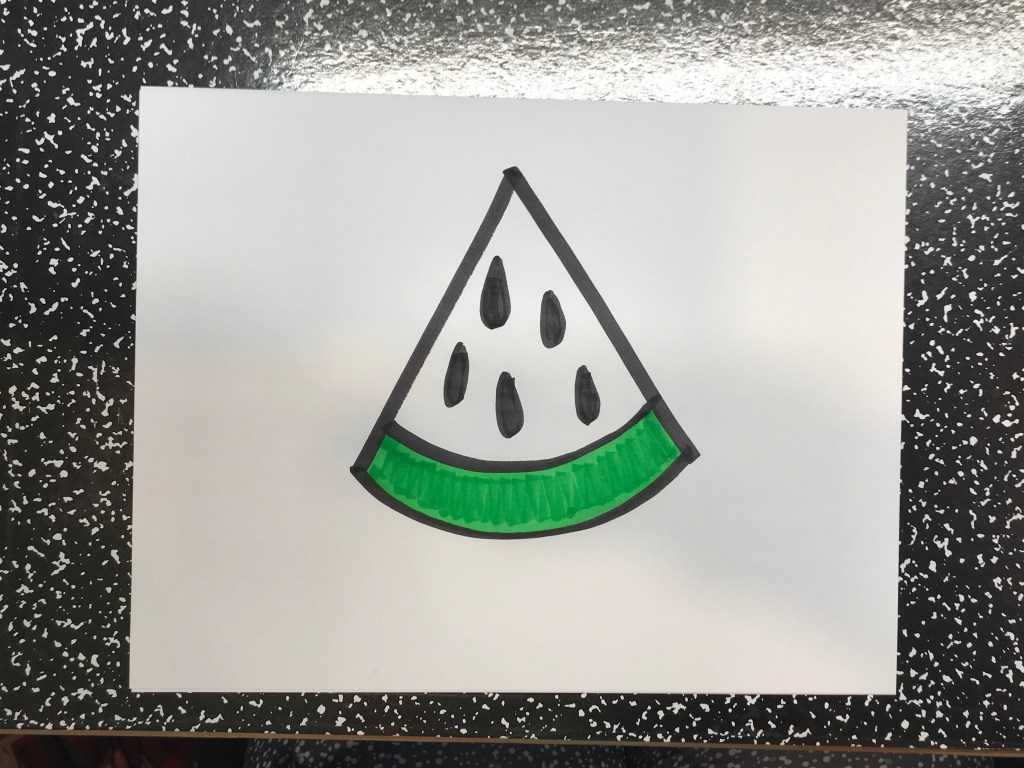
First I draw 2 diagonal lines. It makes it look like a mountain.
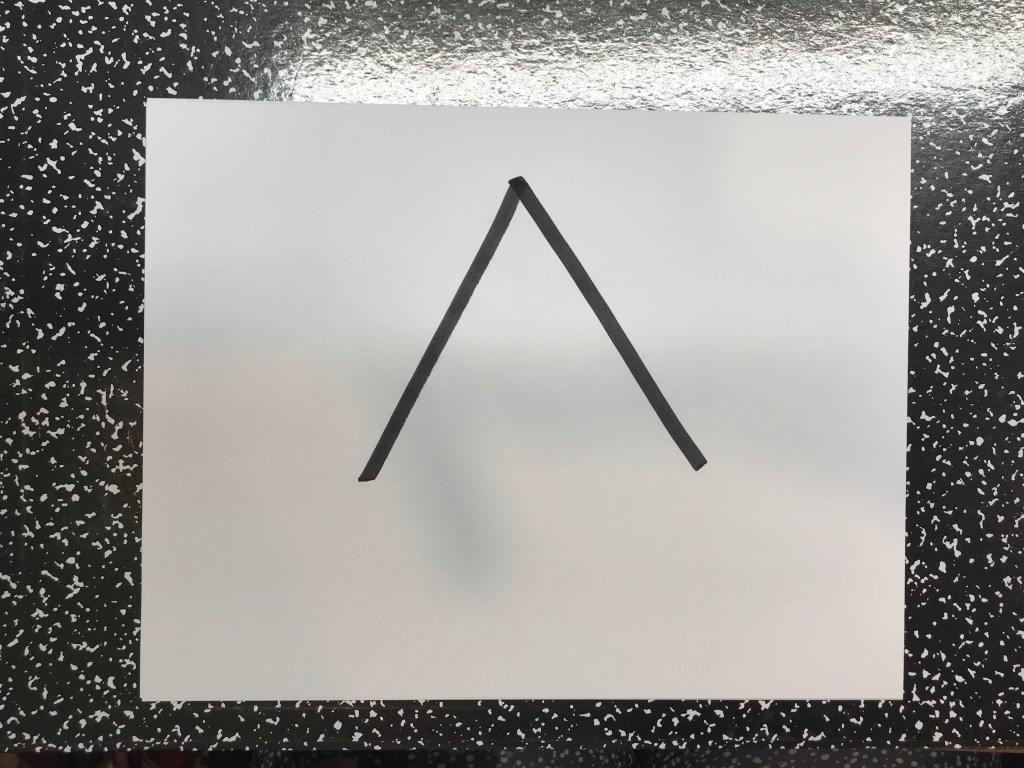
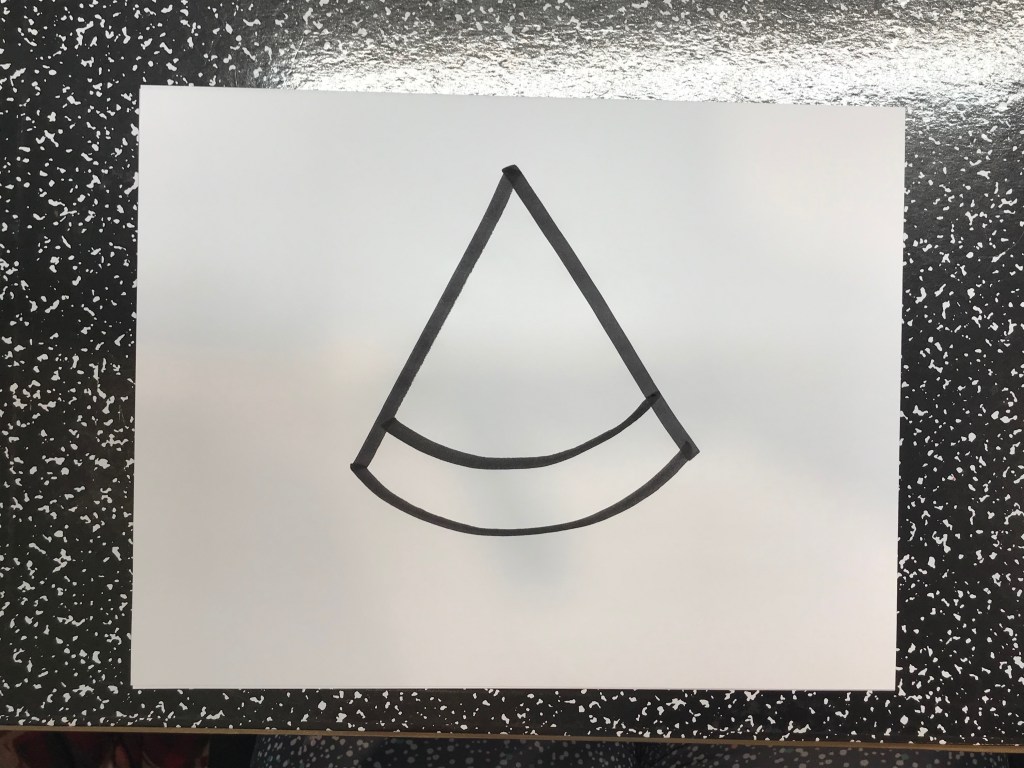
Then I draw a smile line to make the lines touch.

Now I’m going to draw another smile just above the first smile. That’s going to be the outside part of my watermelon – you know the green part!
It kind of looks like a pizza right now, so I need to add the seeds the come in a watermelon. The black ones. So I’m going to draw a tear drop shape. So I start at the top, draw a little line down, make a smile line then go back to touch the line.
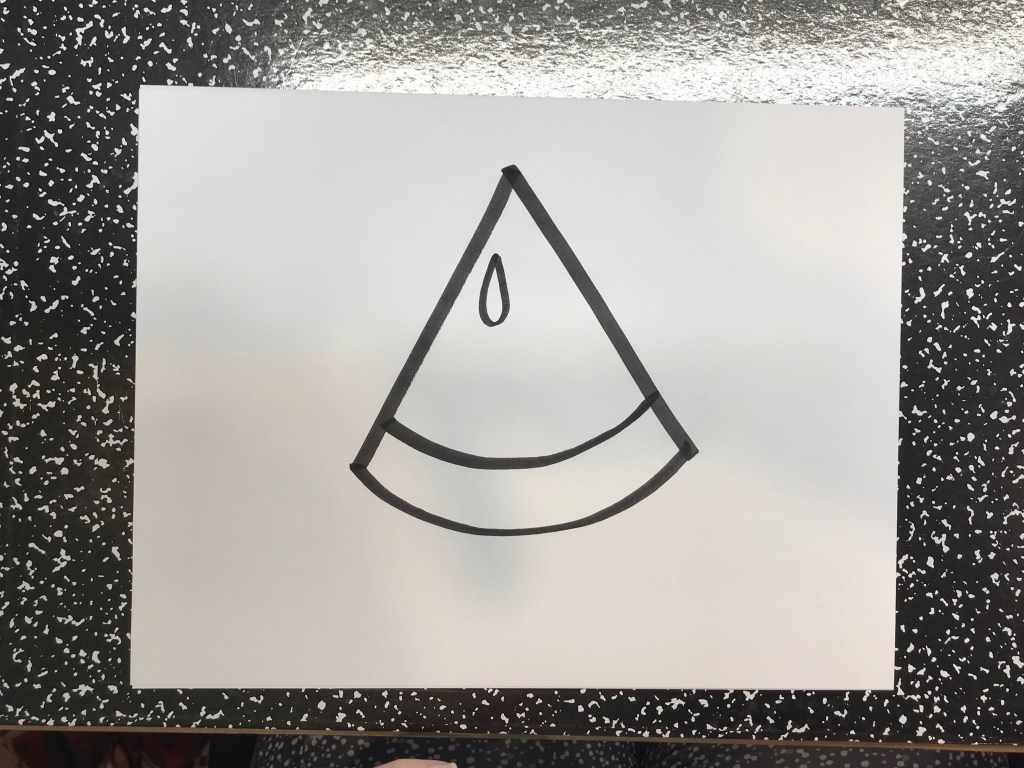
I’m going to make 5 seeds in my watermelon, but you can make however many seeds you would like in your watermelon, because its yours! You get to decide.

Then I would ask the students: Does your watermelon picture need to look like my watermelon? Some will say yes, some might say no. But I correct them with: No! It doesn’t have to look like my watermelon, you can make your watermelon look however you’d like. Sometimes I see watermelons like a giant smile, sometimes I see the whole watermelon, and those things are big! I do want you to focus on adding details to your picture so you can make it look as close to a real watermelon as you can!
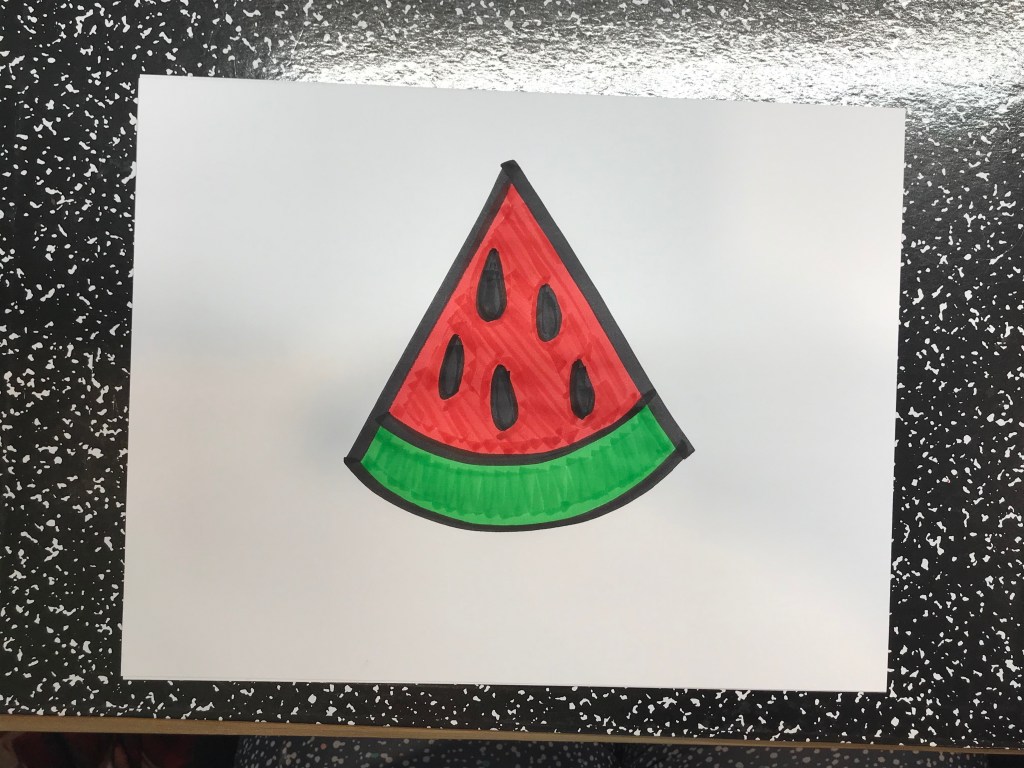
So I’m going to add detail to my watermelon by coloring it. Which means I need to color those seeds, black just like in a real watermelon.

Then I’m going to color the outside of the watermelon green.
Finally, I’m going to color the inside red. Ohhhh, that looks so good I almost want to eat it! But don’t! Because its not a real watermelon (that part always gets a good laugh!)
I then add that sometimes when people draw pictures they also use letters and words to tell people what they draw. So for our picture we could label it watermelon. Does anyone know what sound watermelon starts with? (Then I would say the world by stretching it out… wwwwwwwwatermelon). They usually have some guesses (this helps you have a quick understanding of who already has the beginning letter skills). I would add a W and then encourage students to also add their label of W to their watermelon so they can share what their picture is for everyone who is going to see it.
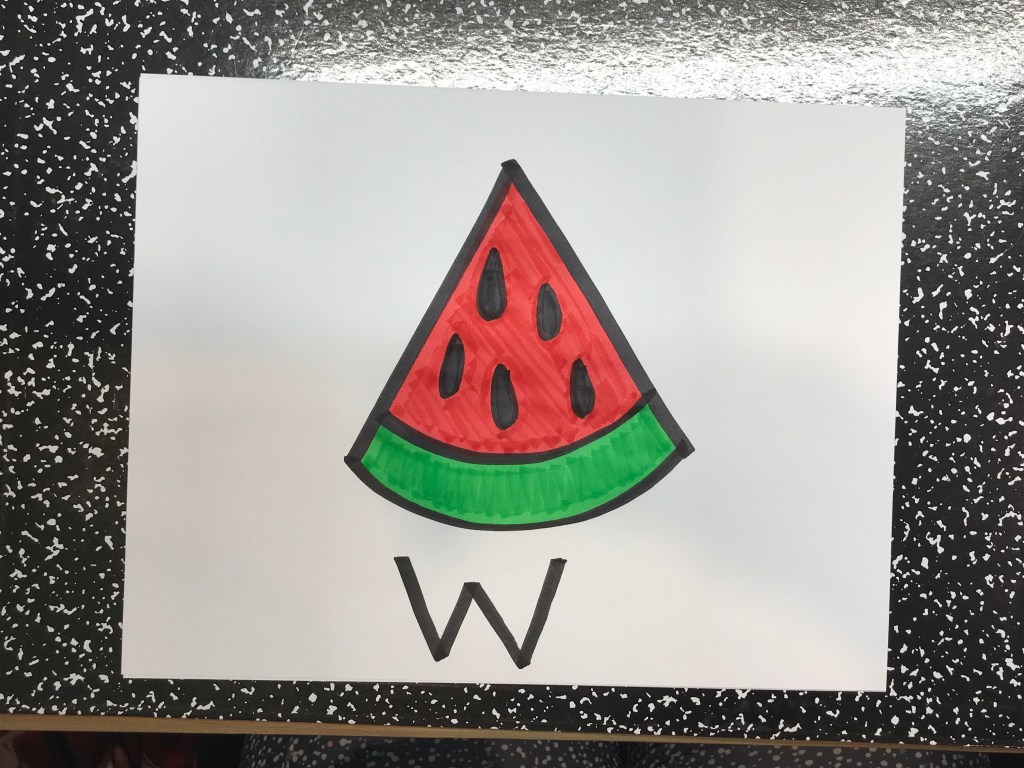
Oh yea – we should also add our names to our picture so that everyone knows that its mine.

It sounds like an enormous of steps/talking but when you break it down to “that easy” the kids find it super manageable. Then I let students go off and try it! I wander around the room checking in on students, making sure they are making an attempt. Coaching those who are having difficult remember “what else to do” and overall cheering them all on. “Oh wow, yours looks sooooo good, I might try to eat it!” “Oh yum yum yum, that looks delicious!” “Wow, look at all those seeds you added to yours, that’s a lot of detail” etc, etc.
I usually say “1-2-3 FREEZE” in the middle of our work time and ask students to remember to put their names on it so we know who’s watermelon it is. I let them know that if they are finished drawing 1 watermelon, they can add more details by drawing another watermelon to share with a friend. I usually have at least 1 child who takes the initiative to draw a page FULL of watermelons to share with ALL of their friends. We work until the majority of the class has attempted to draw 1 watermelon. Then I give the 1 minute warning – setting the timer on the SmartBoard. Once the timer goes off, I freeze everyone again and ask if we want 1 more minute to work (the majority of the time students say yes!). So I will put 1 more minute on the clock (I do this to help build up their writing stamina!) After the 2nd minute timer has gone off, I freeze everyone again. I remind them that their names should be on their paper. I tell students they should continue to work until I come around to their tables to stamp their paper. To earn a stamp they need to have attempted to draw their watermelon and written their name (the students I know that need help with their names I have already walked around and in a yellow marker, written their names at the top of the paper so they can trace it). Once they have a stamp on their paper they get to put it by Jiji (a Pet Penguin we have in our classroom that also helps us do math!) and go to the rug to do a GoNoodle. I put the GoNoodle on before I start stamping papers that way students can go straight there and get moving once I’ve seen their papers. That way their is no “down” time – because when there is time to mess around, students will use it! Lol. I also allow students who want to continue to work to do so until the GoNoodle is finished, then we are REALLY done and papers need to be put by Jiji, so we can transition to our next activity.
I do this with the colors for the first 2 weeks. I do double up colors for the last 3 days: purple & pink, black & white and brown & gray. So we draw one thing (and label it) for each color, which basically doubles their work (and their stamina) the last 3 days… but we’ve been building up to it, by adding extra details in each picture. It’s also super helpful to have the thing your drawing physically there – especially if you’re going to draw a pineapple! So the kids can observe the texture and how you can add those spiky details to their drawing.
You might be tempted to skip over adding details within their drawings and I would STRONGLY caution you against that. Take the time to continue to focus on adding details within their drawing. We talk SO much about details in their drawing that when we flip it and start focusing on writing, the students are already SO use to thinking about details, that now adding details within their writing is SUPER easy! Think about the more you can picture in your mind (the more details you can create) the more words you will have in order to describe what is happening. When we focus on details within the picture, the more details our students will have to write as well, the more details they will be able to recall for comprehension, the more details our students will use within all of their work.
The first 2 weeks of school we focus on color foods when we do our drawing/writing. Here is what I do in my class:
| Red | Watermelon, Strawberries, Cherries, Apple |
| Orange | Orange, Cantaloupe, Mango |
| Yellow | Banana, Pineapple, Lemon |
| Green | Grapes, Kiwi, Cucumber, Avocado |
| Blue | Blueberries |
| Purple | Grapes, Plum |
| Pink | Bubble Gum, Raspberries |
| Black | Black Licorice, Blackberries, Oreos |
| White | Marshmallows, Cauliflower, White Chocolate |
| Brown | Chocolate, Pretzels, Peanut Butter, Graham Crackers |
| Gray | (We usually skip this one… most the time I double up on something brown to eat! |
We gradually add more parts of the word we are labeling. We focus on the beginning sound. Then I say the word slow and drawn out, I have the kids repeat the word slowly and see if we can hear any other sounds we know. Then I add them if we (actually) hear those sounds within the word. This helps me learn who & what kind of letter knowledge we have because week 3 I start ABC Bootcamp with letters & sounds! But that’s for my next post!
If you have any questions, or comments please leave them below! Let’s get to LOVING writing (and drawing!)

One thought on “Beginning Writing in K”